All of the pink and black

A few years ago I happened to go through a phase of picking up a decent amount of white yarn on sale. I didn’t have any plans for it at the time, but it seemed like a good idea, and as it turn out, it was.

Because now I have dyes. So when I want a specifically coloured yarn, all I need is my dyes and white yarn (coloured yarn works too, but overdyeing is more limiting).

Recently I decided that I must make a hat for my friend Cassie. She loves black, and I wanted to throw another colour in there as well, so it had to be pink.

Dyeing yarn 6954

I started with the presoaked yarn draped between two pots, one with black dyes and one with pink. I wanted until the black had wicked a little up the yarn, and then quickly applied a ‘resist’ to stop the dye moving too far, since the concentration of black is much much higher than pink. I made my resist out of two chopsticks and two hair ties, very make-do.

I waited until the dye had started to absorb into the yarn, then added citric acid, so that the dye started to bind to the fibre.
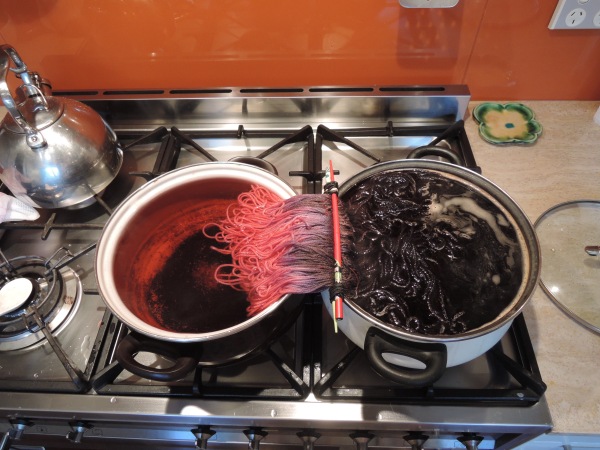
Dyeing yarn 6959 I alternated between sliding the yarn in one direction and than the other, to get a nice coverage of dye, sometimes sliding the chopsticks back if I felt like there wasn’t enough dye underneath them.

Dyeing yarn 6960

Dyeing yarn 6961

When the water bath started to exhaust (go clear as all the dye was bound to the yarn), I removed the chopstick-resist. I eventually tipped all the yarn into the pink pot, and let it cool there.

Dyeing yarn 6964

And here it is, two of my skeins, I dyed three over all…

Dyeing yarn 6967

But one of them is already in use, I really like how this is working up, particularly how the colour repeats are forming a cool chevron pattern.

Dyeing yarn 6968

Close up you can see how lovely and shiny the pink and black are on the yarn. And the gradual fade of one to another. I chose to embrace the fading black, which in this case has a purplish base, so combined with the black gives a kind of lavender fade. Very pretty.

Dog with cat friend 6952

Tim made a dog friend. Delle was very very happy.

More from the Octosquiddles!

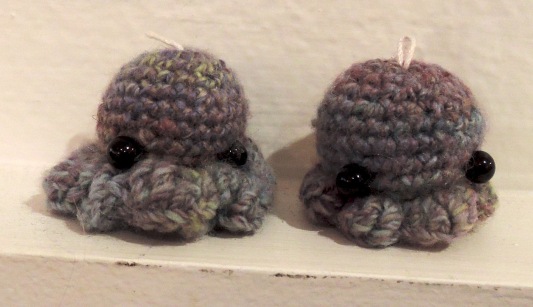
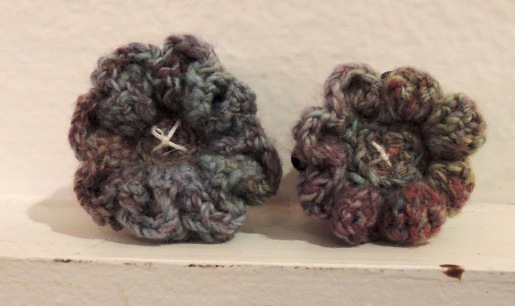
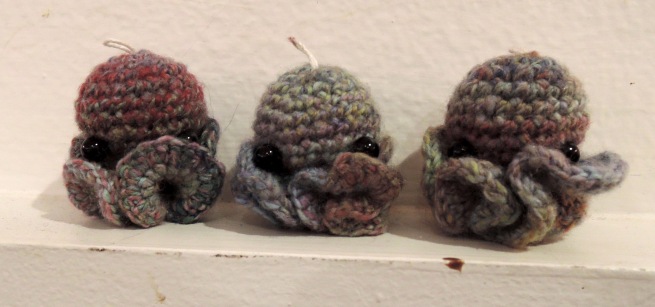
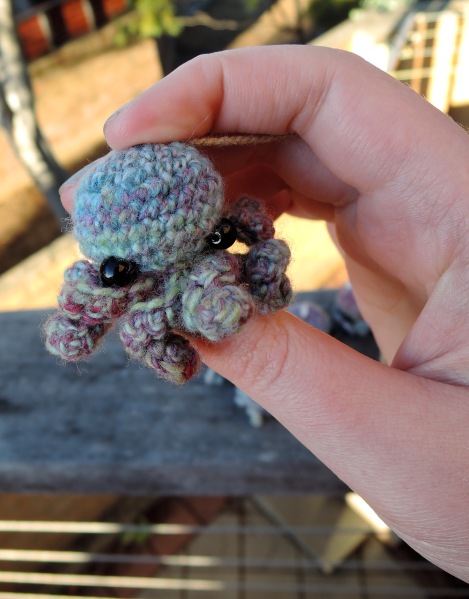
I introduced you previously to my little Octosquiddle army. Now I wanted to show them to you in a bit more detail, focusing on one of the most important squiddle features, they’re wee little squiddly legs.

crochet octosquiddles 6898First, we have the curly legged squiddles

crochet octosquiddles 6902

You can see them in more detail from below. First up we have the little curly legs, with just 6 single crochets per leg, so that they just start to curl upward. Then long curly legs, with 13 ingle crochets per leg, these are super duper curly, all of the curly. And long loopy legs, each leg is a loop of maybe 24 chain stitches, they’re also curly, but different curly.

crochet octosquiddles 6888

These are my frilly legged squiddles.

crochet octosquiddles 6891

The big frill is 5 double triple crochets in one stitch, followed by a {triple crochet, double crochet, triple crochet}, of course repeated eight times. And the little frill is a double crochet, three triples and a double all in one stitch, followed by a half double crochet in the next stitch.

crochet octosquiddles 6884

These ones are really special, they’re my hyperbolic squiddles! Their legs form the shape of hyperbolic plains, some very cool crochet maths. The first starts with eight single crochets, than has three rounds in which I add two singles crochets to every one of the round below. The next is also single crochet, but with three in every stitch of the round below, there are only three rounds in total, since by then there were already 72 stitches, and another round would have been 216!!! The last one here is in double crochet, I started with four double crochets, into each of eight stitches of the body (there has to be an eight in there somewhere, it’s one of the octosquiddle rules), then I did one round of another four double crochet into each stitch below… 128 in all, more than enough!

I have made a triple crochet hyperbolic squiddle, but I gave it to a friend, so don’t have it to show too you. There are also the puff stitch squiddles, that I shall share soon, as soon as I get hold of the one the boyfriend has claimed (he’s named it Bob).

Meet the Octosquiddles

crochet octosquiddles 6841

Something very cool happen recently… octosquiddles!

It started with this set of patterns, by mohu. But things escalated from there. I saw an opportunity to do away with the one part of amigurumi that I just can’t find it in me to enjoy… sewing them together! I don’t know why, but I just really really dislike it. It’s not that I can’t do it, and I know all the tricks to get a good result and make life easier, but I’m just not a sewer. So while the original patterns called for making the legs separately, and sewing them onto the body, I realised that I could achieve the same thing my crocheting directly onto the finished body.

crochet octosquiddles 6849

And that’s what I did. First I made my own version of each style of legs in the original pattern (including the tiny little round ones, but they’re not pictured here, because the boyfriend stole them). Then I kept going, thinking of different ways to finish the squiddles, different legs, different arguments. It has been much fun.

You can see the long curly legs here, each is a chain of 14, into which 13 single crochets are worked, before I slip stitch along the body to start the next leg.

And why ‘octosquiddle’? I just couldn’t decide whether to commit to ‘squid’ or ‘octopus’.

You might recognise the yarn, it’s my handspun ‘Rainbow Sky Yarn‘. I love how each squiddle uses just a tiny amount of yarn. There is so much potential to keep making more :)

Something new :)

handspun yarn 6300

I have a very exciting new development in my crafting journey to share with you today… I discovered the blending board! And oh yes yarns I shall make :) A blending board is like a cross between hand carders and a drum carder. It’s dressed with fibre that is then pushed further into the teeth using a smaller carding brush. Ironically, they’re not ideal for blending fibres, but wonderful for ‘painting’ with fibres, creating rolags with different fibres and colours – perfect for me. Particularly given the second exciting development, I’m not obsessed with dyeing my own fibres!

handspun yarn 6239

Here you can see my lovely Ashford blending board, loaded up with hand dyed fibre (though it’s obscured by the layer of undyed Muga silk on top).

rolags from blending board with hand dyed fibres 6258

And here are the rolags that I made from this combination. With my spectrum of dyed fibres in the background. Each board worth of fibre became four rolags, and overall I find the process easily fast enough to keep my in preparations to spin.

handspun yarn 6395

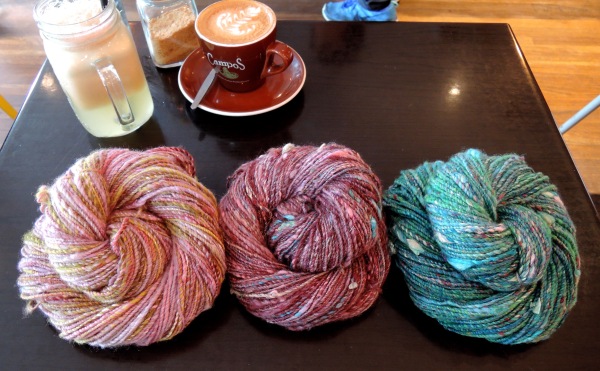
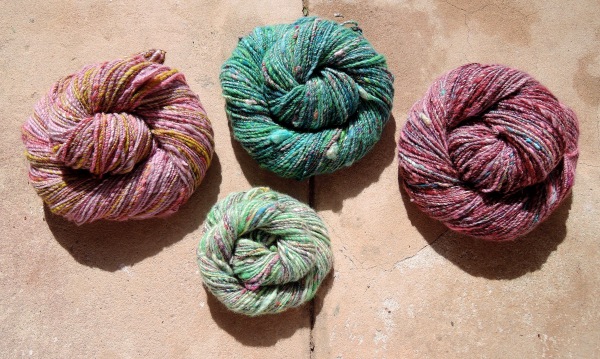
The rolags above became the rightmost yarn, the others were made from fibre prepared in a similar manner (Though the little one in the centre was more a matter of throwing bits and pieces that I had left over onto the board, and rolling it into a big ‘rollog’, I think that it worked out very nicely, all things considered.)

handspun yarn 6380

handspun yarn 6378

handspun yarn 6389

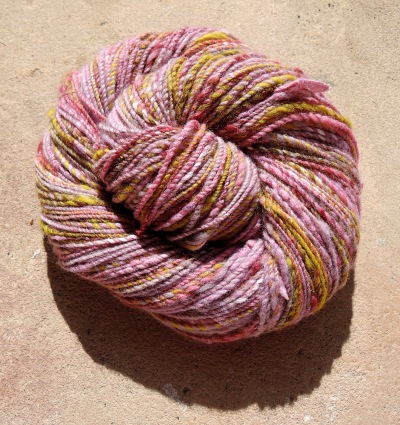
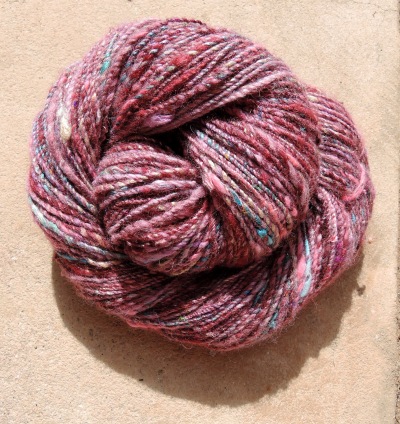
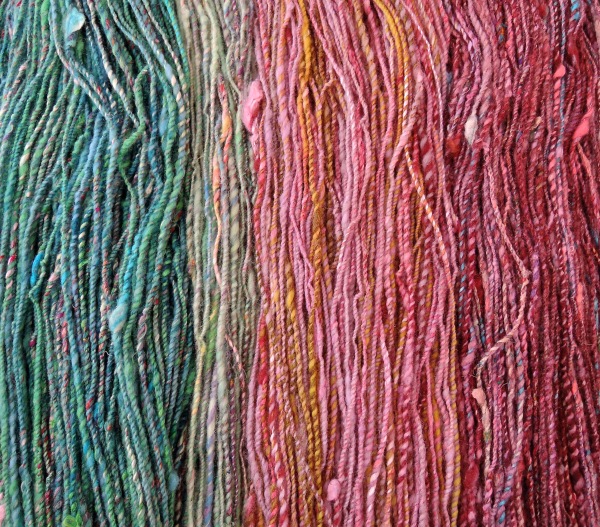
You can see each of the the yarns up close, and I will try to write more about them.

handspun yarn 6368

Here’s the one made from the preparation I showed you. I just love how this style of spinning creates beautiful subtle variation in texture and colour. It’s wonderful to embrace in inherit irregularity of this kind of spinning, there’s only so much control you can have over it.

handspun yarn 6339

The closer you look, the more you see.

handspun yarn 26346

handspun yarn 26345

handspun yarn 6402

Peekay likes them too.