I do love post stitches, they give such wonderful texture to crochet, make for lovely cable patterns, and fabrics with lots of stretch.

Here’s just one of my favourite cable projects

And here’s my eternal serpent cable scarf :)
Cable stitches are very easy, they simply require a basic understanding of crochet stitch anatomy. (Right-handed photos on top, left-handed below)


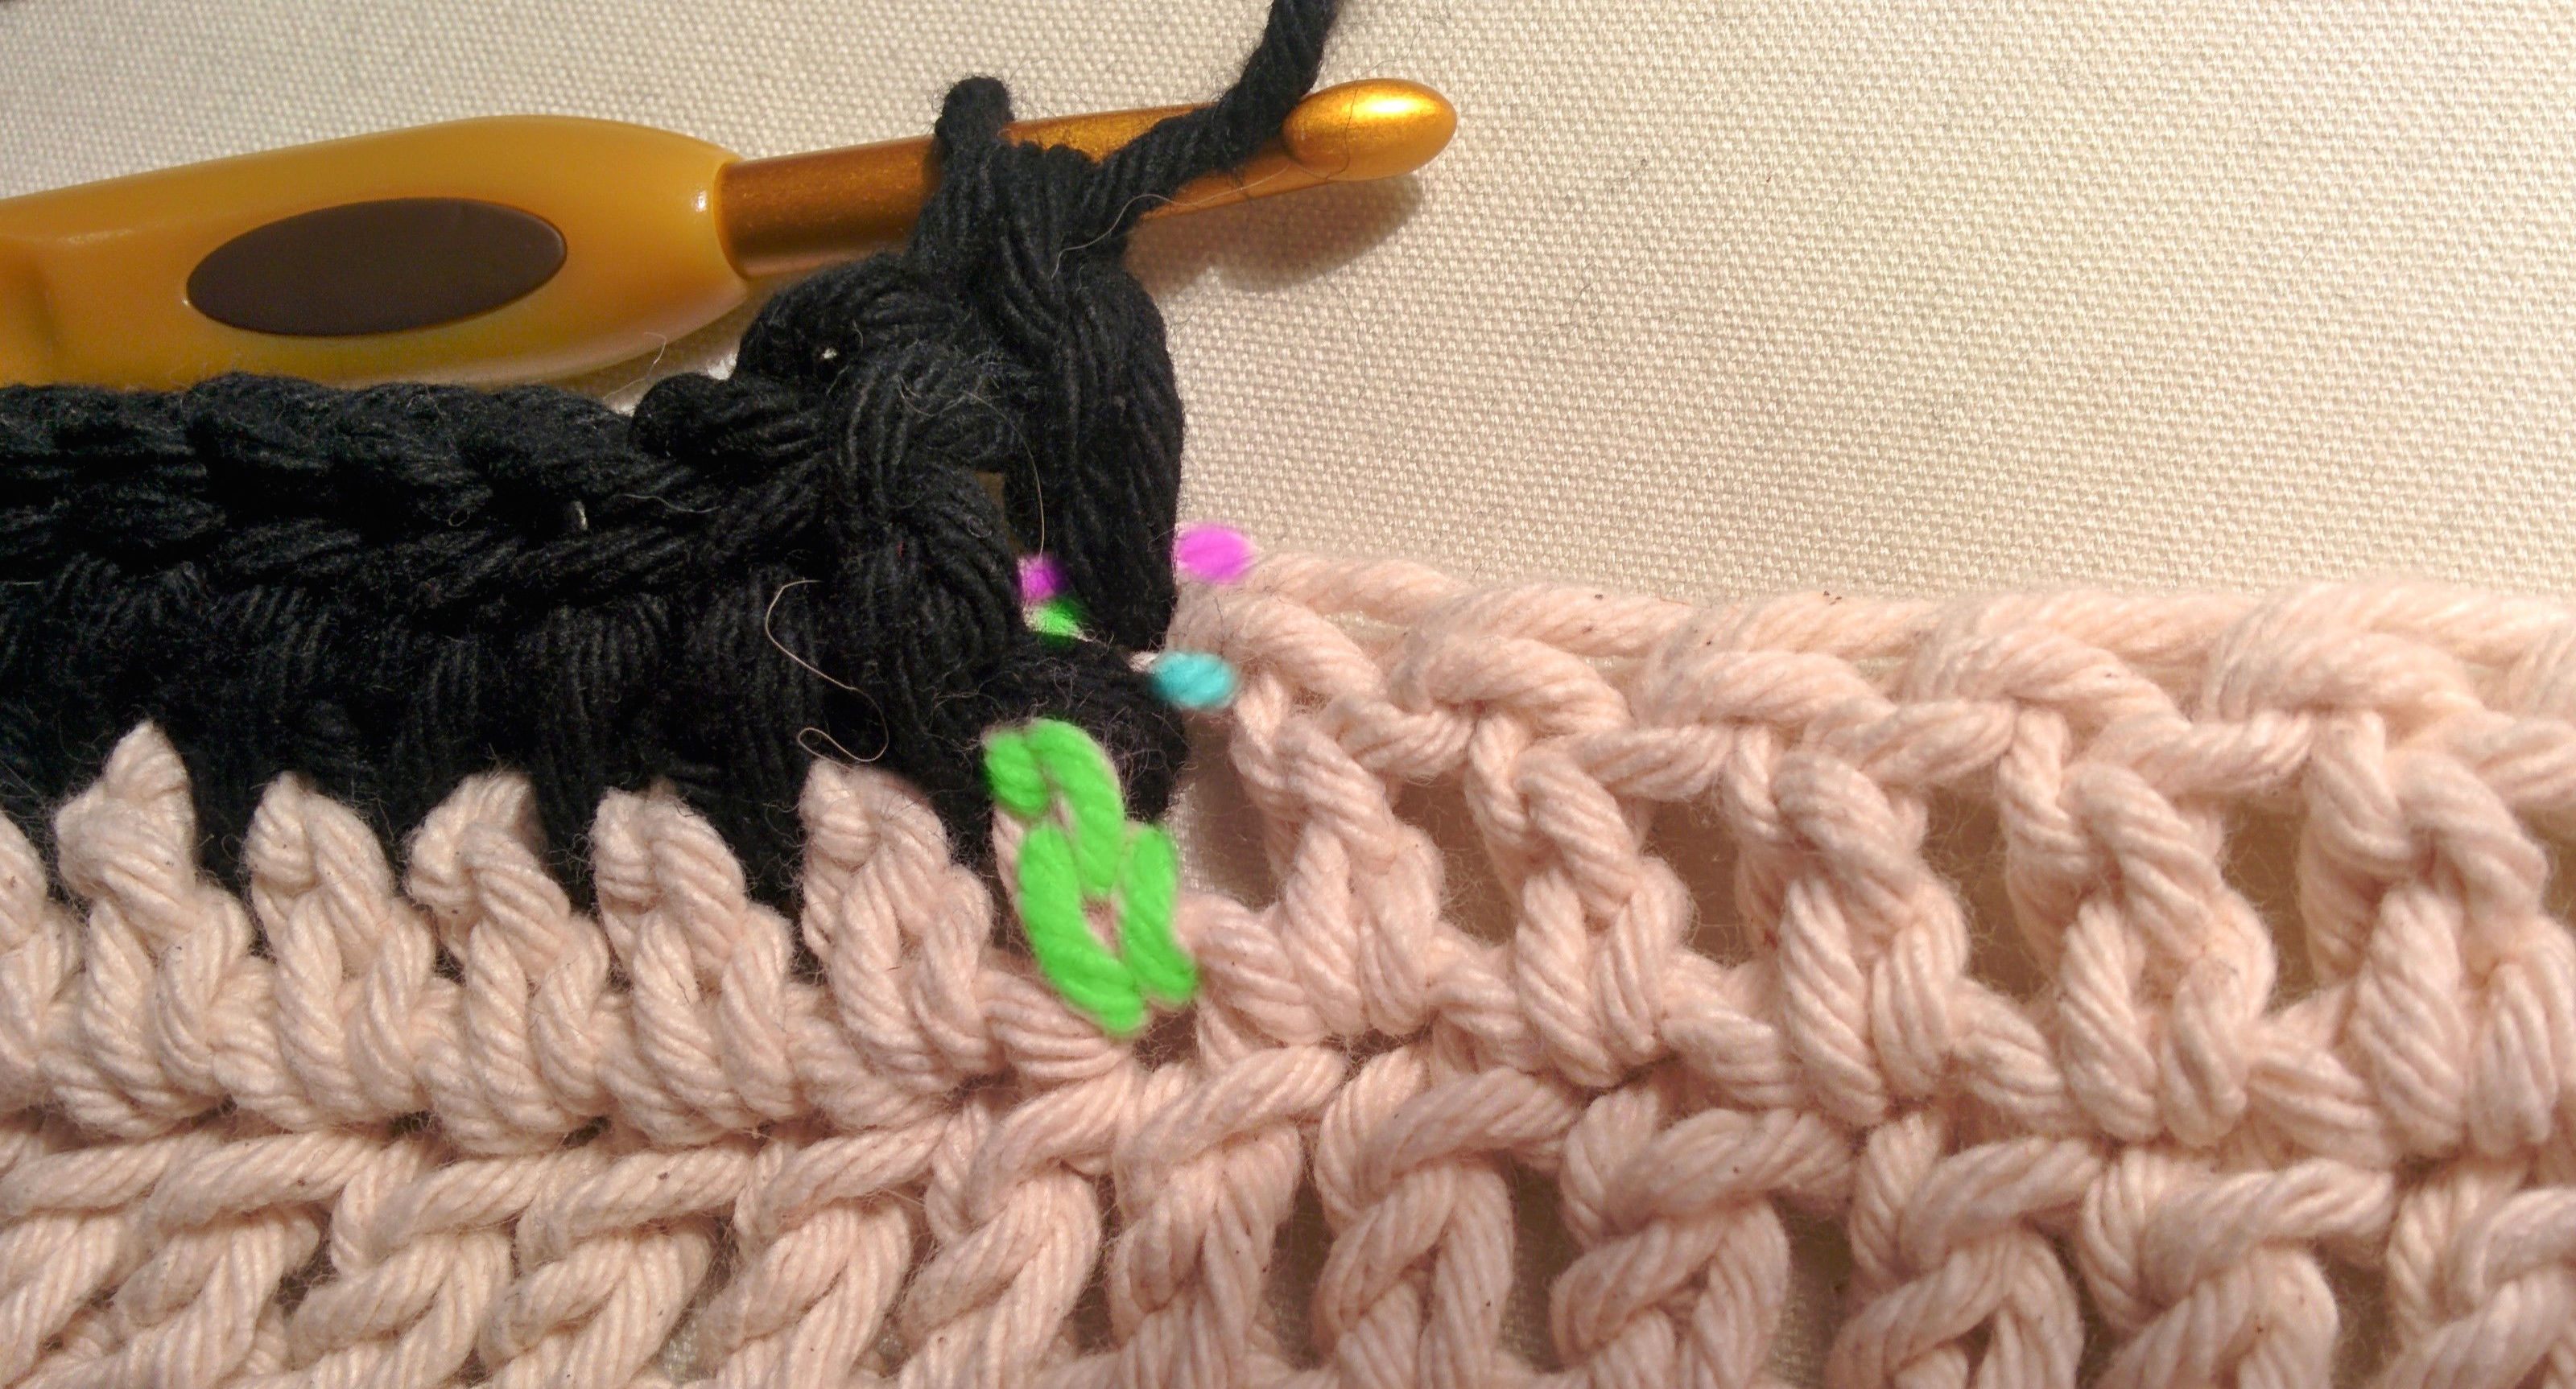
Here we have a double crochet stitch. In the pink we can see the two loops (back and front) that make up the ‘v’ at the top of the stitch, into which we would normally work. The blue is what I like to call the leg of the stitch, or the mid loop. And the green shows the body of the stitch, the post around which we work our post stitches.
Front-post stitches


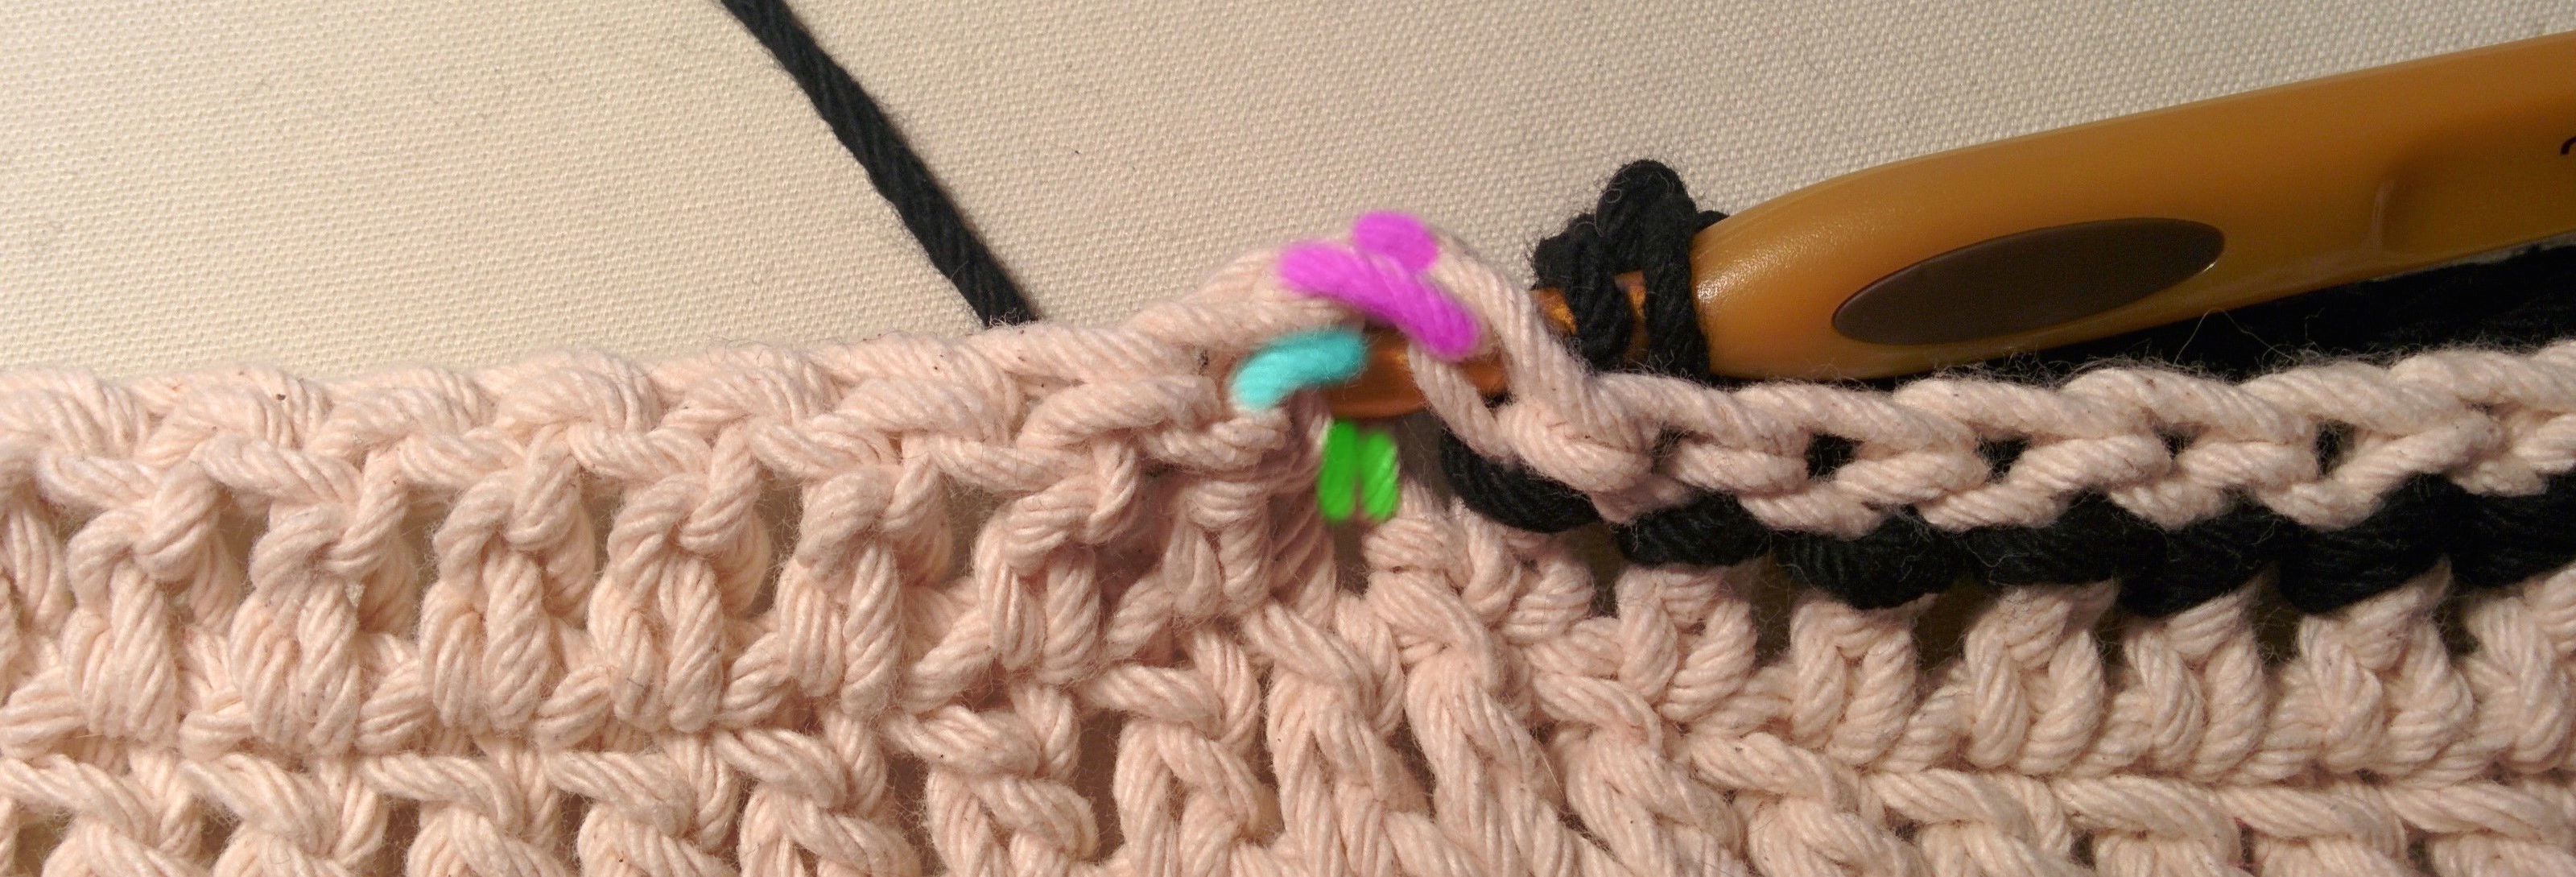
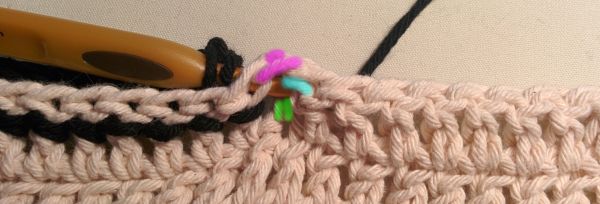
And here’s a row of fount-post double crochet (in black) that I’m part way through, I’ve just reached the coloured stitch.


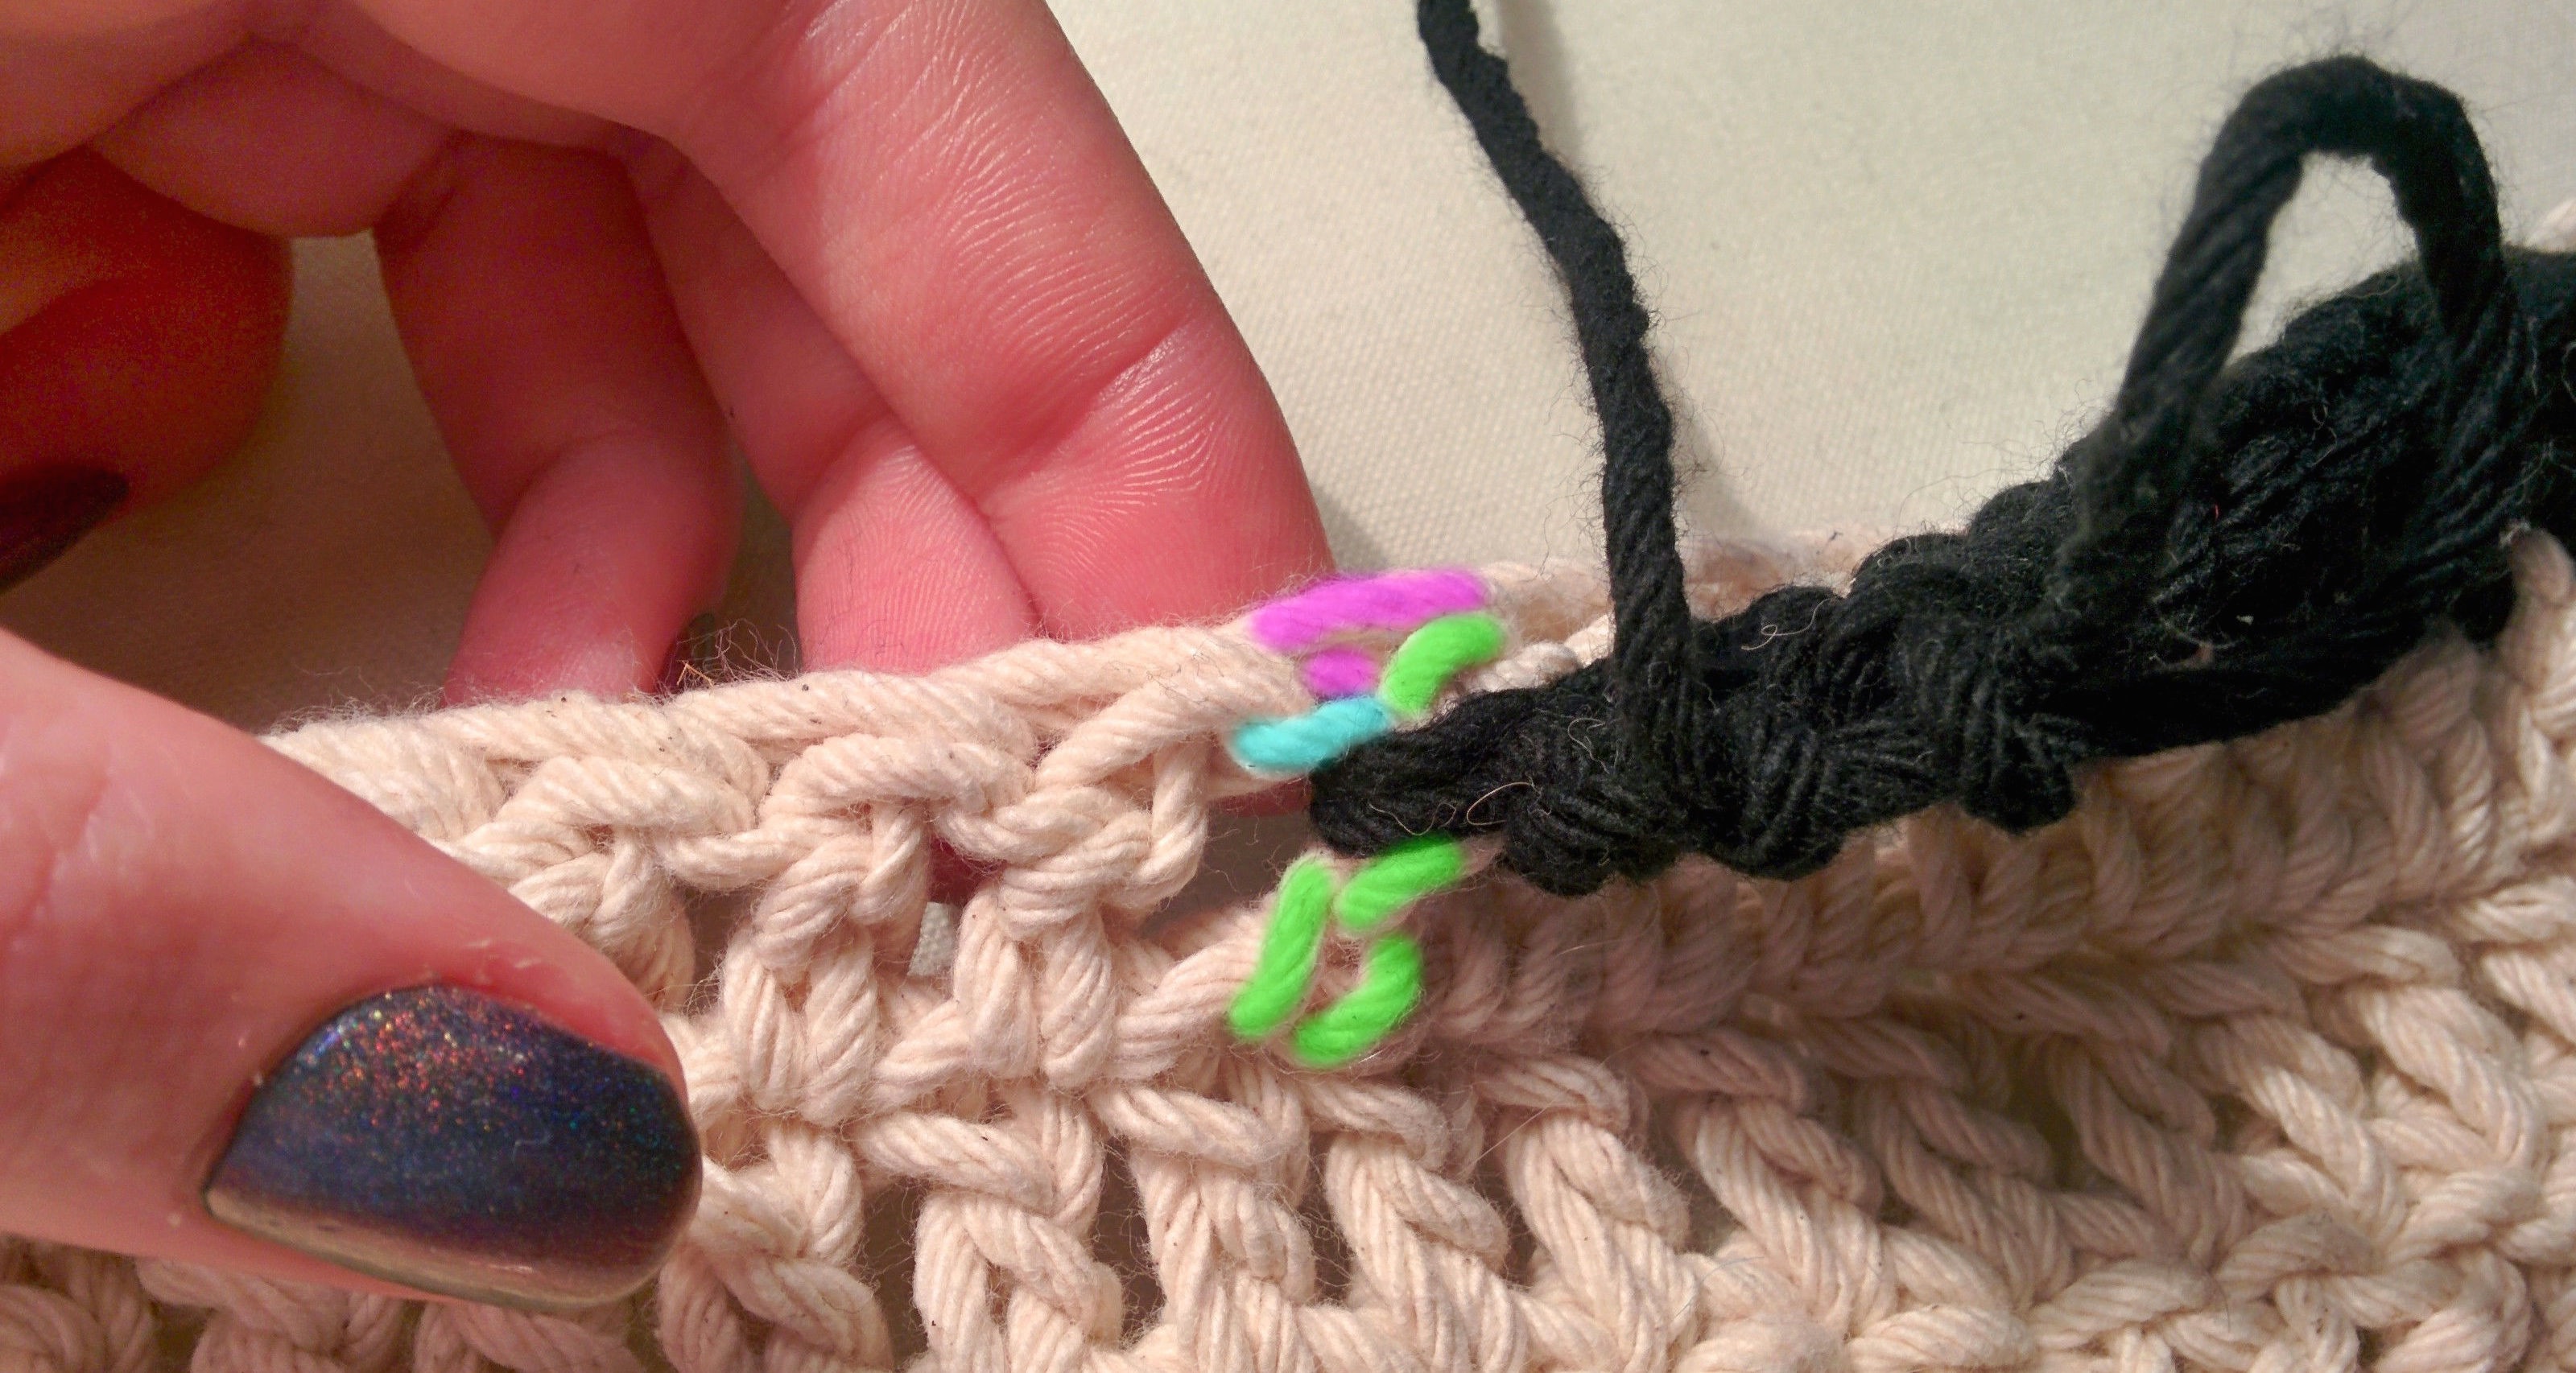
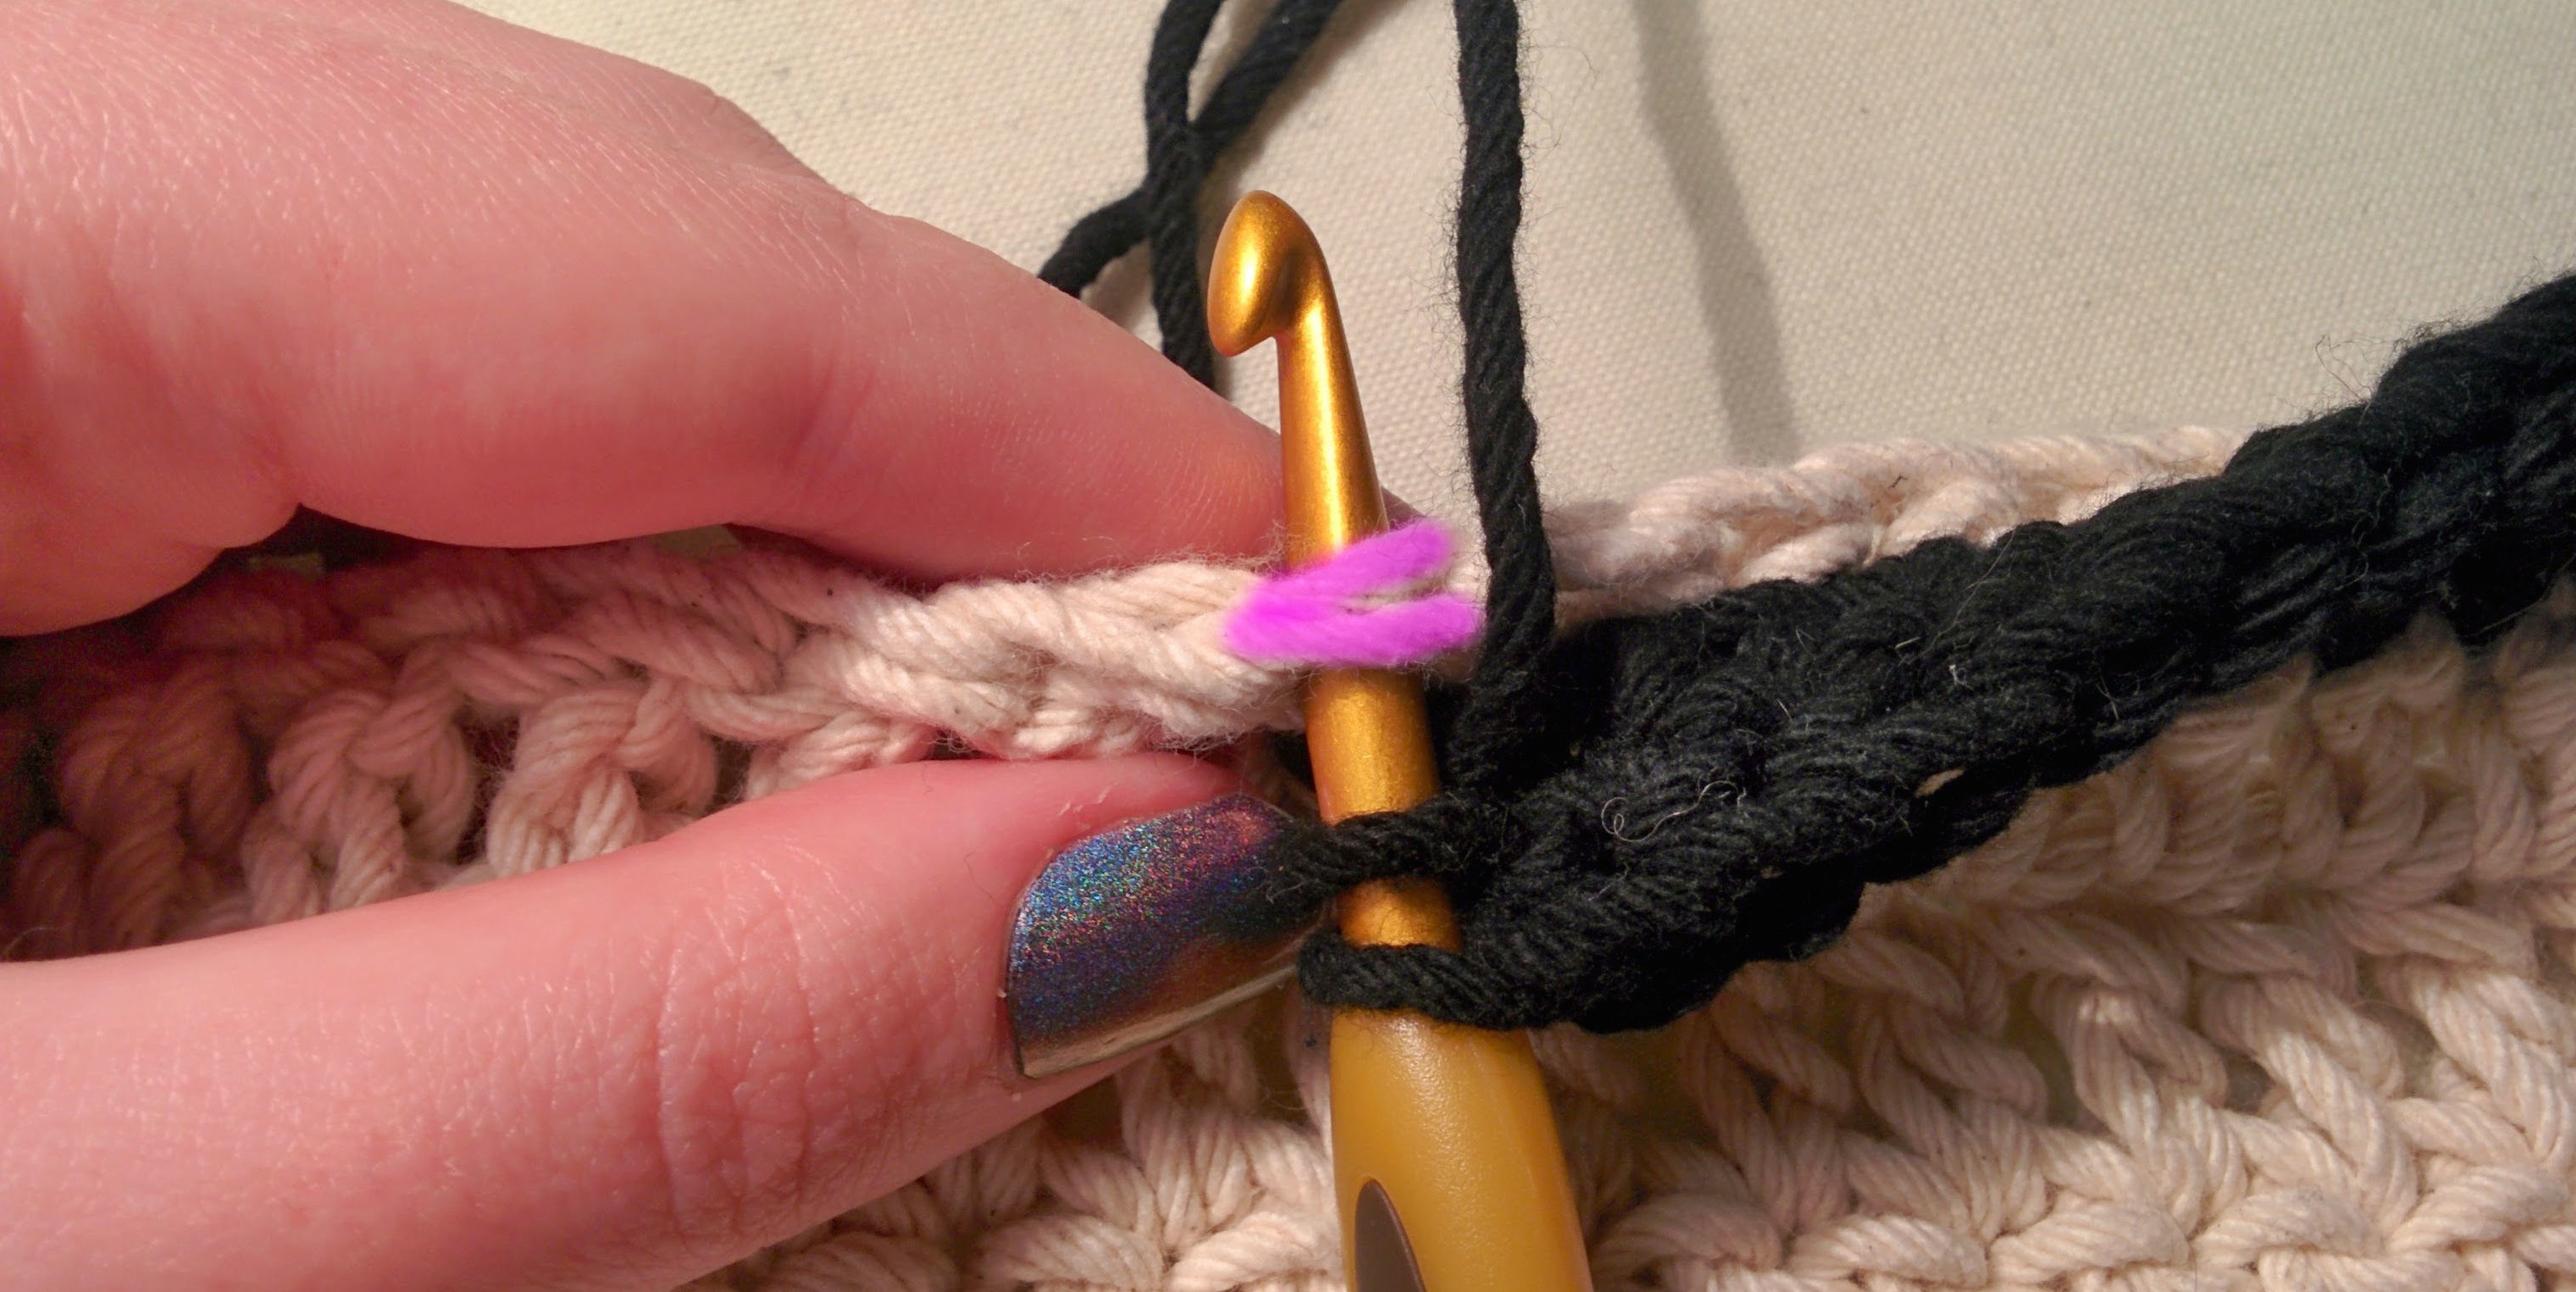
To create the post stitch, we insert our hook behind the post of the stitch. Below the v (pink) and the leg (blue). Because this is a front-post stitch, we bring our hook to the front of the work, insert it behind the post and out the other side.


Yarn over.

And pull the loop around the post.


From here we complete the double crochet as normal (or whatever stitch it is that we’re making). And we have a front-post double crochet stitch.

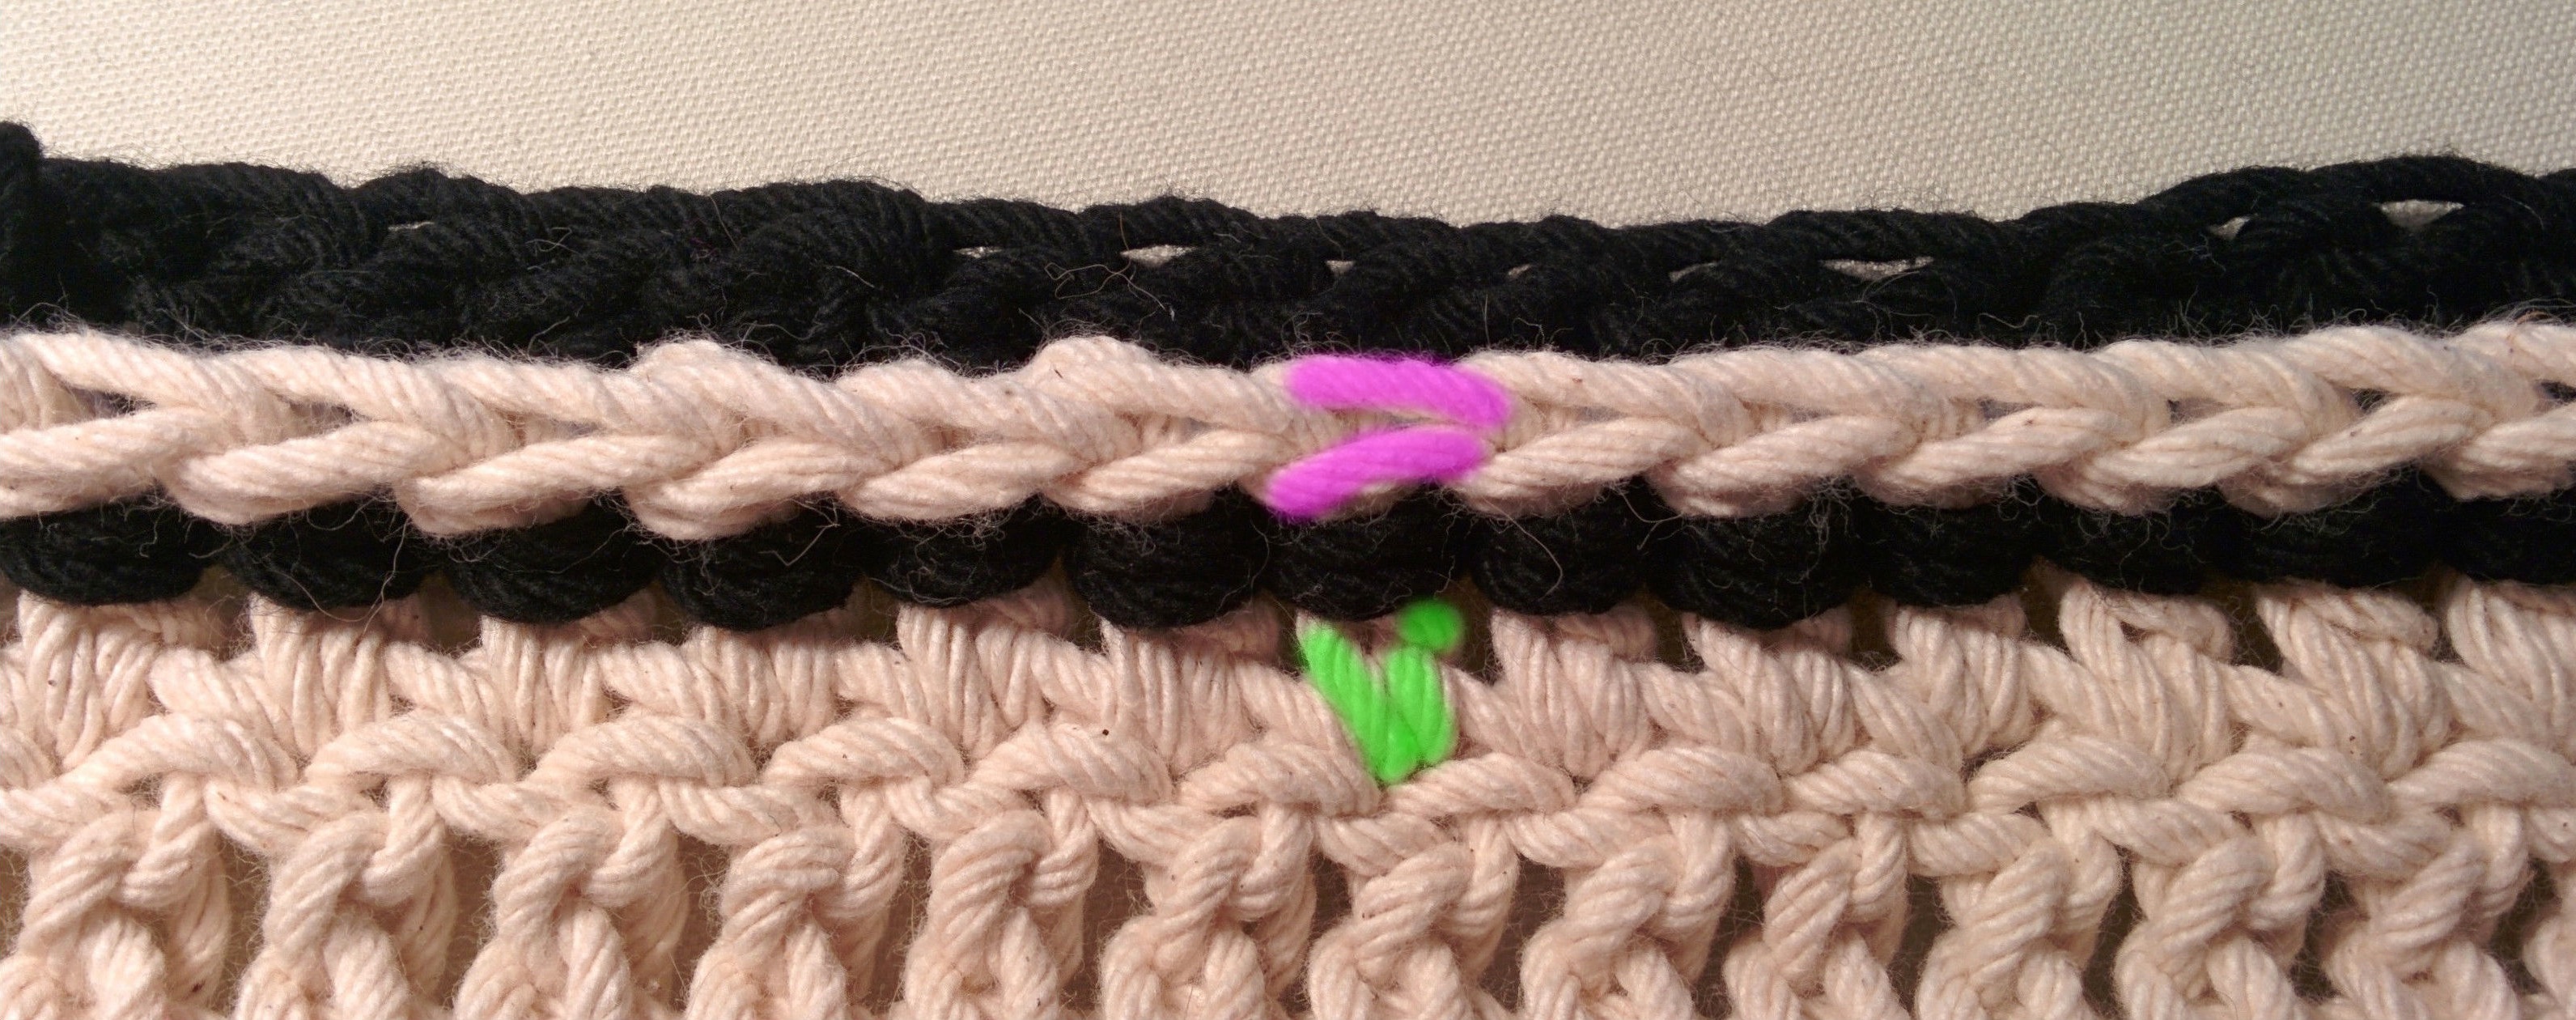
Here’s a row of front-post double crochet.

On the other side of the work, we can see the vs from the top of the stitch, that have been left unworked. You might recognise that when we make a front-post stitch, we end up with a back-post stitch on the back of our work. That means that when we turn the work and go back in the other direction, we’d end up with alternating front-post and back-post stitches (unless we switched to back-post stitches for the alternating rows).
Back-post stitches
If we want to make a back-post stitch, we simply take our hook to the back of the work, then insert it around the post.


We pull the loop around the post, and finish the double crochet.
And we have our back-post stitches again.
Cables
Back and front-post stitches form the basis for making cables in crochet

Front-post stitches form cables by raising the body of the stitches, so that the cables run perpendicular to the direction we work in, as you can see to the left in my eternal serpent scarf. When we use back-post stitches, which you see to the right, the cables are actually the unworked vs of the stitches below, and so they run parallel to the direction of the work. Of course front-post cables on one side of the work will result in back-post cables on the other, which is actually what you’re seeing here.
And this is a very simple cable pattern. Post stitches can be used to create much more complex cables, often involving skipping stitches, combining different types of stitches, and working into skipped stitches. But all of these use front and back-post stitches as their fundamental uni
Post stitch increases
Sometimes a pattern will call for you to crochet into the same stitch as the post stitch. This creates an increase, because there will be two stitches into the one below.

Here we have the front-post double crochet already created. We can see the blue leg of the stitch and the pink vs behind the post stitch.

We insert our hook under the v, just like when we make a normal stitch.

From here we pull up a loop and complete the double crochet. You can see that we’ve got a front-post double crochet stitch and a normal double crochet stitch both made into the stitch of the row below.
I find that it’s good to pay extra attention when reading a pattern with post stitches. A pattern might call for you to increase by making two post stitches into the stitch below, or by making a post stitch and a normal stitch. With a basic understanding of post stitches, it’s not hard to see the difference between instructions like this, but it is easy to get lost if you’re not paying enough attention.

Pingback: The making of a man scarf | forever in fibre
Pingback: Eternal serpent scarf | forever in fibre
I always like your tutorials with the coloured stitches, very clear. I want to make a garment with front or back post stitches just have to find the right pattern (and time).
LikeLiked by 1 person
Thanks :) I enjoy making this tutorials, it’s amazing how much I learn myself when I’m going through and colouring the stitches. I think it’s really good to understand the anatomy of the stitches, rather than just what you have to do to make them.
LikeLike
Pingback: Link Love for Best Crochet Patterns, Ideas and News — Crochet Concupiscence
Pingback: forever in fibre
Pingback: How to make an ouroboros | forever in fibre
Pingback: Granny stitch beret for Sam | forever in fibre
Pingback: Pink diamond beanie for Flick | forever in fibre
Pingback: Leaves of silk and gold | forever in fibre
Pingback: Winter flower shawl, handspun! | forever in fibre